With the rise of homeworking and the outsourcing of many tasks via freelancer workers, the urgent need for secure remote desktop and application access is not a big surprise.
Our HTML5 client solutions combine the security of a centrally-managed server with the accessibility of web-based clients that any user can launch. Browser-based solutions work with virtually any device now and become very popular.
As the usage of remote access covers new scenarios the request/approval workflow for password checkout, remote access, and temporary roles built-in or via ITSM vendors grows every day.
The present article covers the configuration of Centrify with SAML for two of our Thinfinity products:
The steps will be the same in both cases. Point 6 will show both Thinfinity manager windows, pick the one that corresponds to your solution.
TIP: Not sure what’s the best solution for you? Contact us to get advise.
How to configure SAML to enable Centrify
On the Centrify’s Admin Portal.
1) Click on “Apps” -> “Web Apps”:
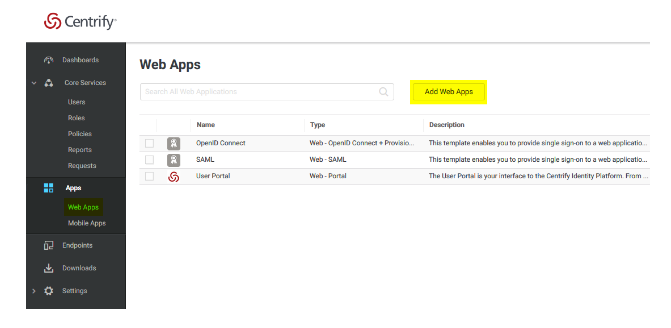
2) Click on “Custom” and next to SAML, press “Add”:
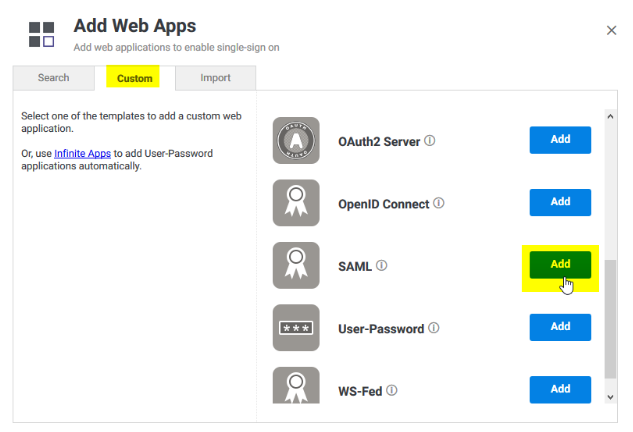
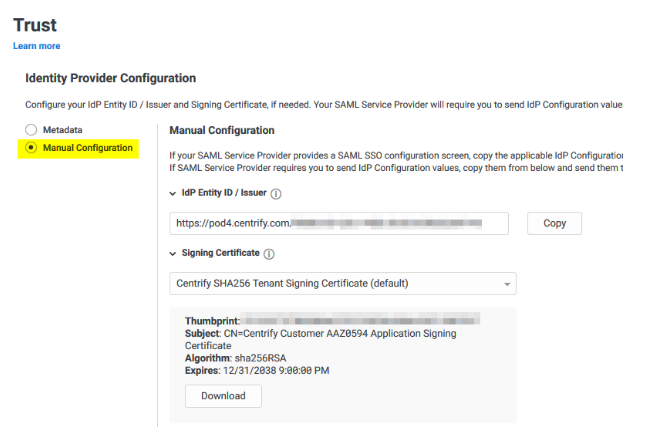
3) Give your application a name, and click on the “Trust” tab.
Click on “Manual Configuration”, and copy the IdP Entity ID, and download the certificate provided by Centrify.
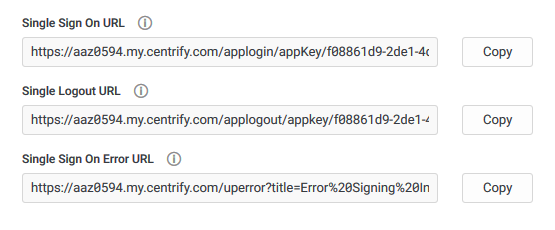
4) Then copy the “Single Sign-on URL”, and the “Single Logout URL”:
5) Now, on the “Service Provide Configuration”, click on “Manual Configuration” and configure the following:
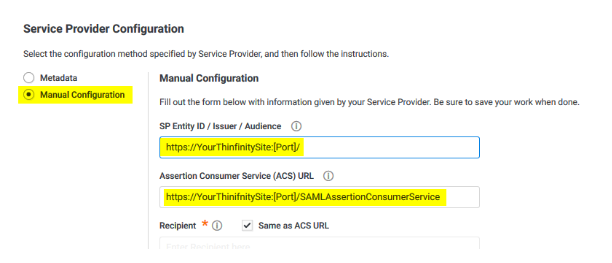
After doing these changes, click on the “Save” button.
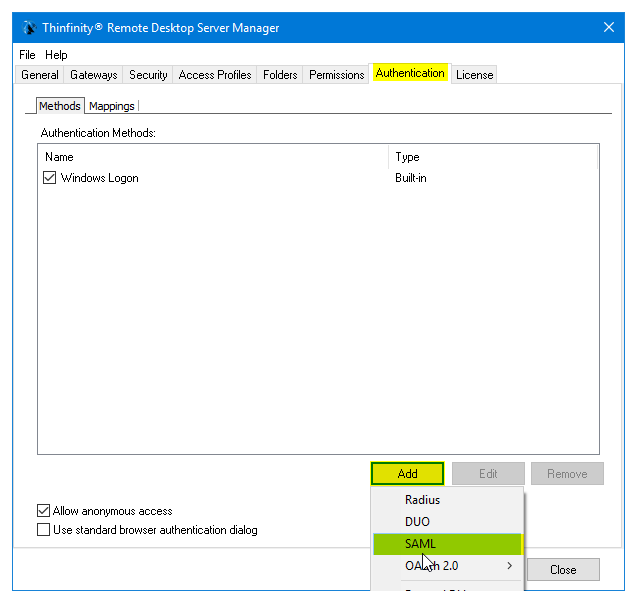
6) Now we need to configure your Thinfinity solution (RDP Server or VirtualUI) with all this information.
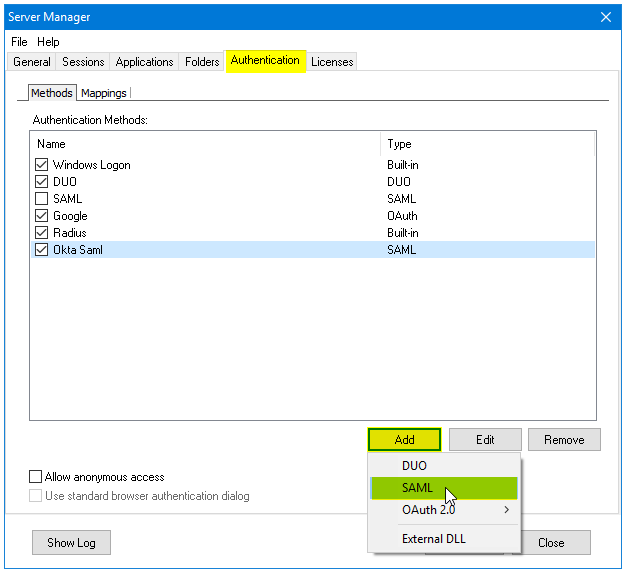
Open the Server Manager and navigate to the “Authentication” tab, press “Add”, and then SAML:
Thinfinity Remote Desktop Server:
Thinfinity VirtualUI:
7) Now we must configure the connection itself:
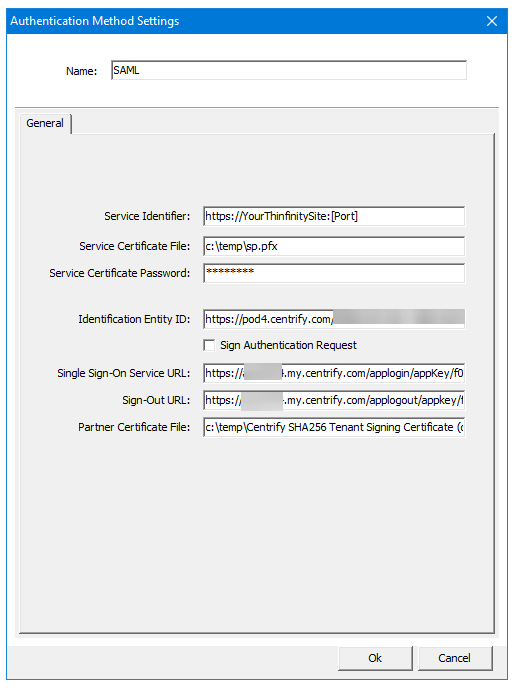
Service identifier = https://YourThinfinitySite:[Port]
Service Cert File = [Path_To_Your_Certificate]
Service Cert Pass = [Certificate_Password]
Identification Entity = [IdP Entity ID / Issuer]
Single Sing on Service URL = [Single Sign on URL]
Sign-out URL = [Single Logout URL]
Partnet Cert File = [Certificate Provided by Centrify]
Once you configured it properly, click “Ok” to save the changes.
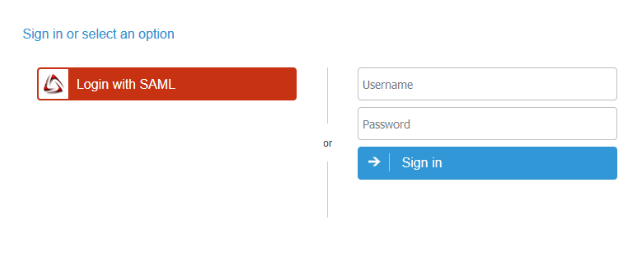
8) Now go the Thinfinity landing page and you should see the “Login with SAML” option now available to use.
Have any questions? Contact us at [email protected] or leave a message on this same post.