
With Thinfinity® Workspace we introduced an enhanced method for file transfer. Features like Drag and Drop make the entire process extremely easy and convenient. We simplified the way users interact with their local and remote files, providing the necessary tools for your user’s day to day activities.
To take advantage of all the features, the admin will need to install an executable component called Thinfinity® WebBridge.
WebBridge will enable the ability to Drag and Drop files straight from the browser. This component will also create a temporary Virtual Disk called “ThinDisk” that the users can alternatively use as the main directory to safely and easily transfer files to and from the remote machine.
You’ll find the steps to install Thinfinity® WebBridge below:
- First-off, download Thinfinity® WebBridge on the server and run the setup “Thinfinity_RDTools_v6.0_Setup_x64” (this distributable is available on request).
Bear in mind, Thinfinity® WebBridge has to be installed on the remote desktop´s machine you wish to upload/download files to/from. The client computer does not require to install any plug-in or add-on.
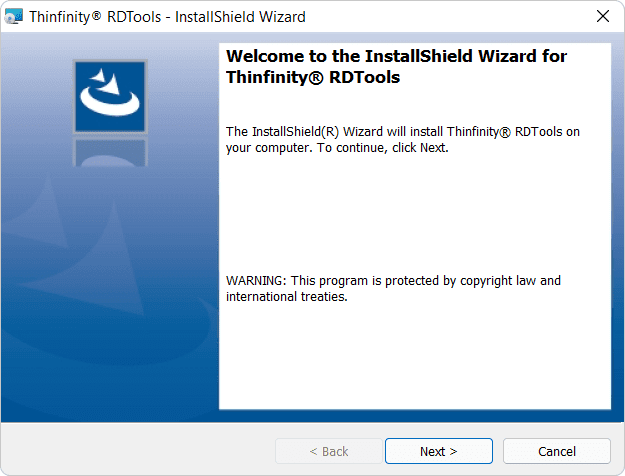
- In the first screen, press ‘Next’:
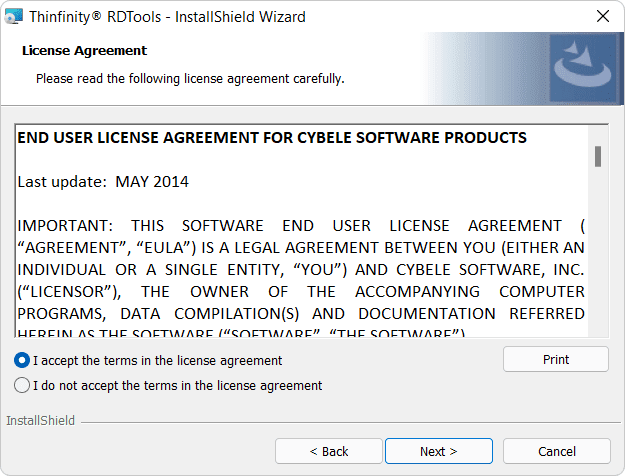
- Accept the License Agreement and press ‘Next’:
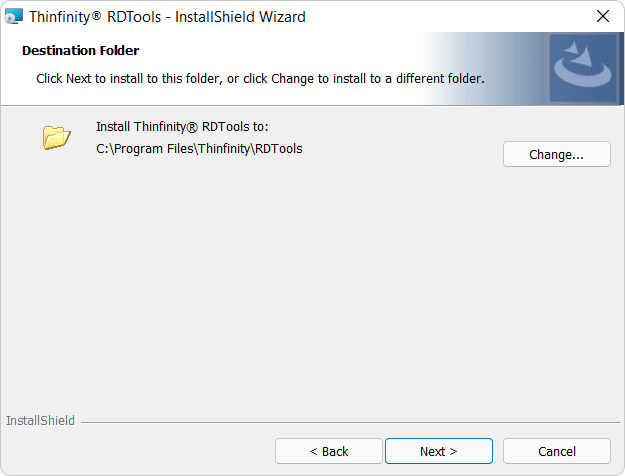
- Select the Destination Folder and press ‘Next’:
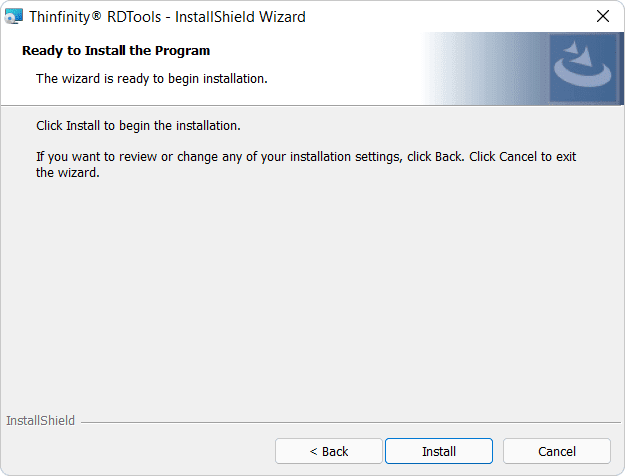
- Click ‘Install’:
- After the installation completes, press ‘Finish’:

Now you should be ready to connect to this server and use the WebBridge drive.
WebBridge: User Experience
Transferring files from your local PC to your remote desktop session has never been easier!
How to upload files:
There are 2 different ways you can upload a file to your remote desktop session:
- You can drag and drop files directly into the browser where the remote desktop session is running.
After you drag a file into the browser, you will be prompted to save the file:
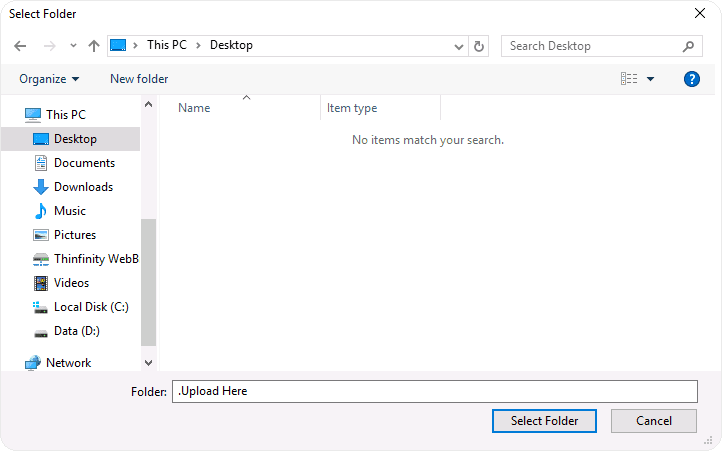
Select the destination folder you wish to use as the upload location on the remote machine.
- Go to the “Thinfinity® WebBridge” drive and double click “Upload Here”:
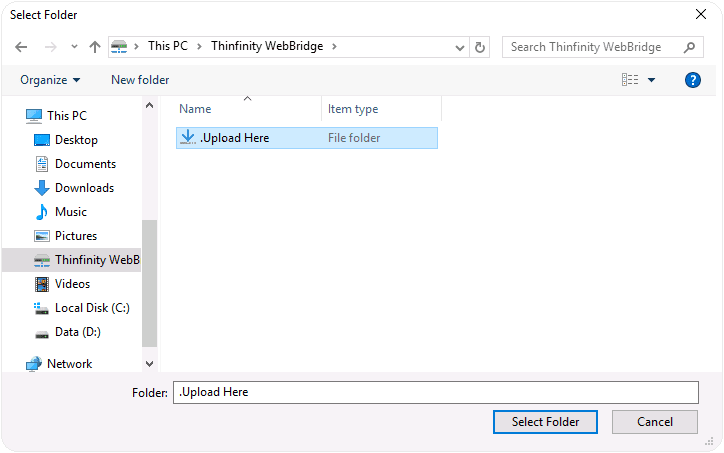
This will open your local “File Open” dialog, where you can select a file and upload to the “Thinfinity® WebBridge” drive.
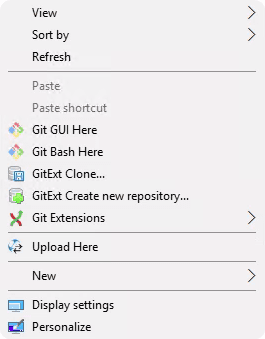
- Finally, you can right-click any folder and select ‘Upload Here’, to upload a file to the selected folder:
How to Download files:
To download files, there are also 2 different methods:
- You can drag and drop files into the “Thinfinity® WebBridge” drive. This will save the file in the WebBridge drive and will automatically download from your browser.
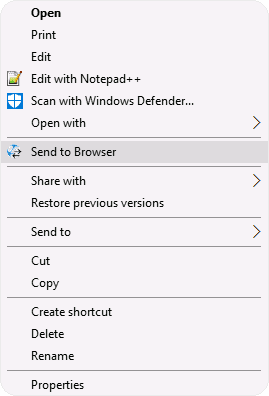
- Right click any file in the remote desktop session, and select “Send to Browser” to automatically download:
If you are working on a file that is stored in the “Thinfinity® WebBridge” drive and you update it, WebBridge will detect these changes and download the file again so you don’t lose any of your information.
If you found this article interesting and want to know more about Thinfinity® Workspace, you can contact us or schedule a quick call with one of our Sales Engineers.