Are you a Developer? Follow this short guide to virtualize applications and run them on any web browser using Thinfinity® VirtualUI.
Ready to have a cross-platform app without rewriting your old code? Let’s go for it!
In previous articles, we have shown you how easy it is to get started with Thinfinity® VirtualUI (.Net applications / Delphi applications). Basically, you only have to:
- Download and install Thinfinity® VirtualUI.
- Add a piece of code to the source and re-compile.
- Register the newly compiled application in the Thinfinity® VirtualUI Server Manager to run your app on a browser.
This article guides you to cover this last point (3), registering your application in the VirtualUI Server Manager.
Register the newly compiled application & run your app on a browser.
1) To start, please open the VirtualUI Server Manager.

2) Navigate to the “RDS” tab and set the RDS user you want all the different processes ( applications ) are going to be running on. An administrator account may be needed for this step.

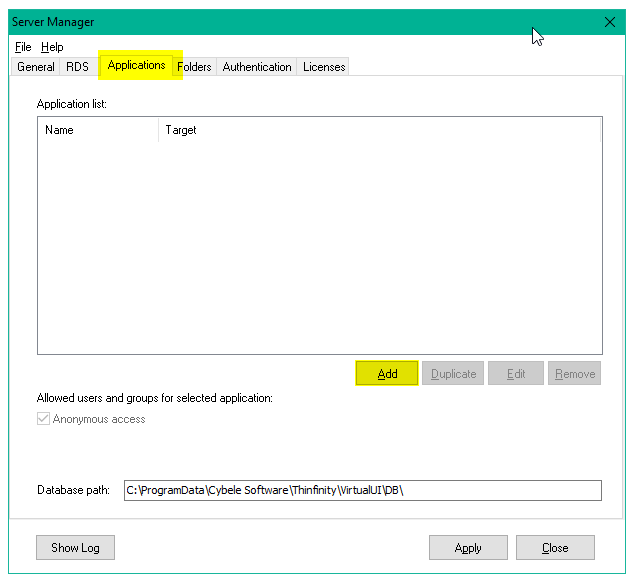
3) Navigate to the “Applications” tab, and press “Add”
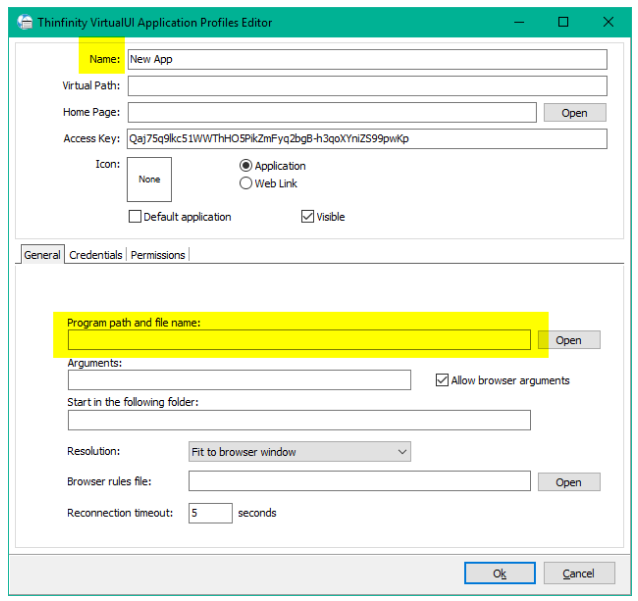
4) On this new tab, specify the name you want to give the Application published, and the program path and filename.
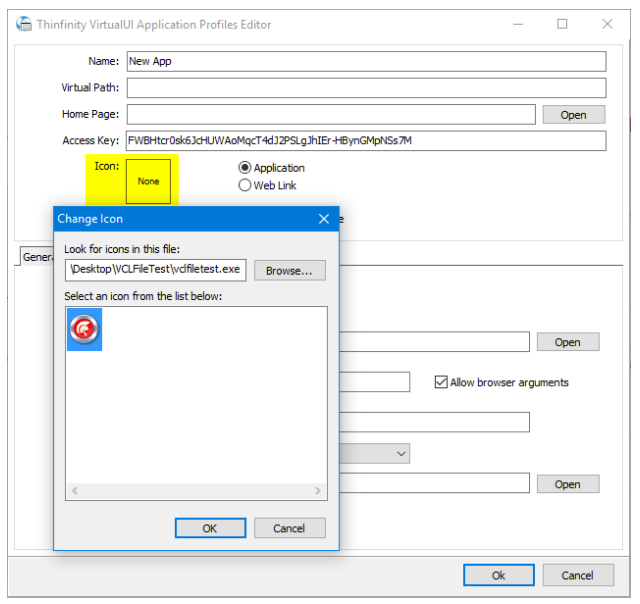
5) You can also add your own icon to the application by clicking on the “None” field next to “Icon”
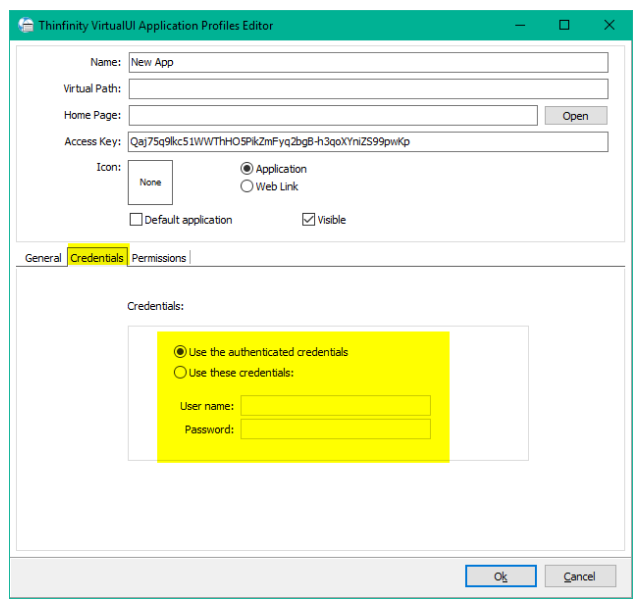
6) Navigate to the “Credentials” tab and specify the credentials you want your application to use when running under Windows ( an administrator account is recommended but not mandatory )
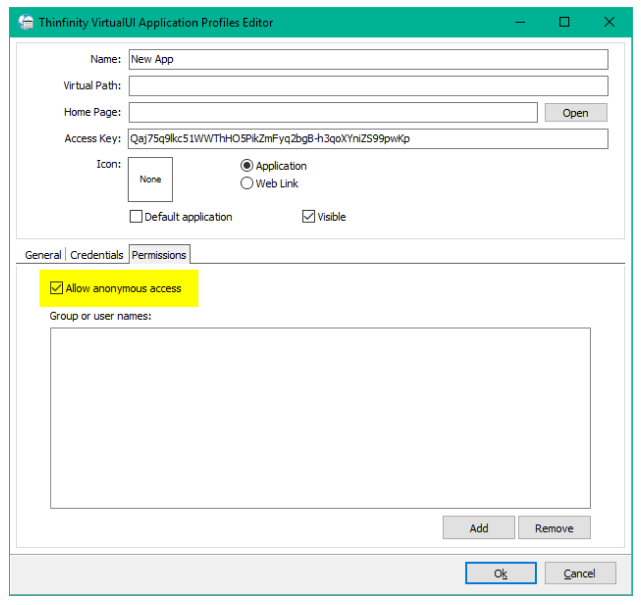
7) Under the “Permissions” tab, check “Allow Anonymous Access” ( this is for testing purposes ) and press “Ok”.
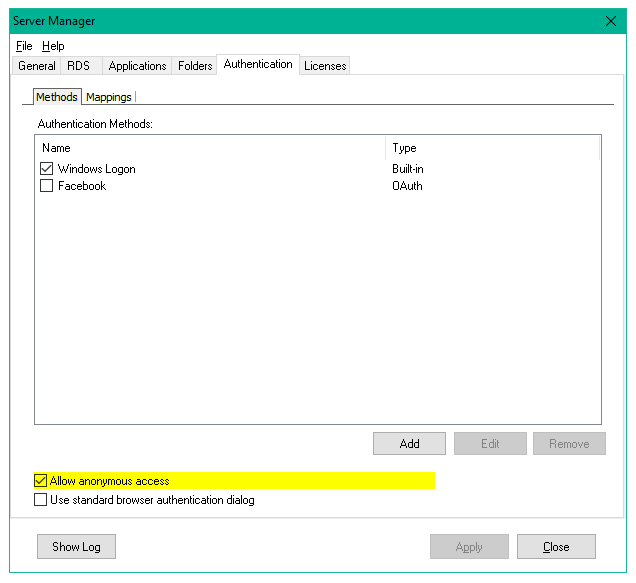
8) For testing purposes also, navigate to the “Authentication” tab and check “Allow Anonymous Access”:
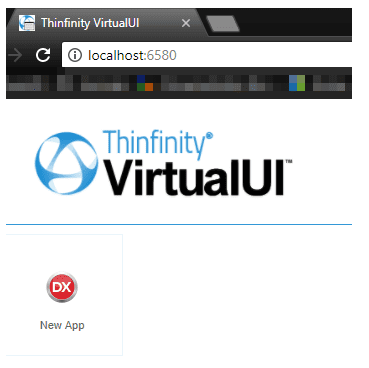
9) Open up a Web Browser tab and go to “http://localhost:6580”

You should be able to see the Thinfinity VirtualUI landing page with the Application you just recently published.
Click on your newly added Application, and that’s it!
BONUS TIP!
If you only have one application published on VirtualUI, you can use the “Default Application” option to have that application load as soon as your users hit the VirtualUI landing page. Saving a click, and directing your users straight to your application.

If you found this article interesting and want to know more about Thinfinity VirtualUI, you can contact us or schedule a 15-minute demo call with one of our Sales Engineers.
Hi Stan,
Does VirtualUI still require a RDWeb or RPC License from Microsoft?
Can the Special Developer License $ 149 be run on Windows 2019 servers?
Why is there no Enterprise license $32 buy button on Cybele Buy homepage?
Thanks.
Hi Saiful,
Thank you for contacting us. Here you are some answers:
1. It depends on your application. If you run their party object from/to an application that require visualization, for example, expose a grid base in Excel, you must use ¨Their party application¨ checkbox. Thinfinity turn to use RDP as protocol. Ms-calls are needed.
2. Yes you can, you can also buy 1 license for each concurrent user.
3. Because the “fair price” is a process. For further details, please email us to [email protected].
4.Yes, we have OEM. Again, please contact our sales team at [email protected]
Best regards!
Wow – It works exactly like you said it would !!!
Hi Stan! I have opened a ticket for you with our tech team. They will reply to you to the email you provided.
If you have other information to report, please email them to [email protected]
Thanks!
I follow the step above to run the VCLFileTest.exe however when enter the http://localhost:6580/ in browser the following message appear
This site can’t be reached, localhost refused to connect.
I also open the port 6580 in my windows firewall setup