
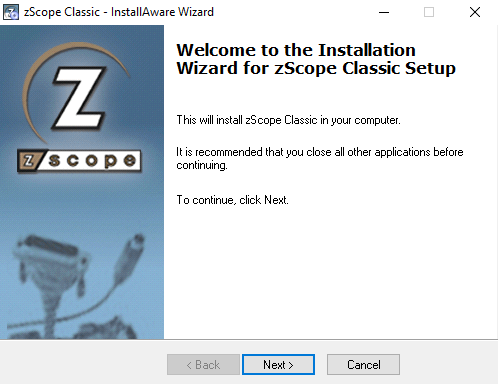
In this quick tutorial, we will guide you through the steps on how to install zScope Classic 6.6 version and how to register it’s license. This is very simple and is basically a next, next installation. Let’s get started!
If you run our installer as Administrator, you’ll get prompted with the following dialog:
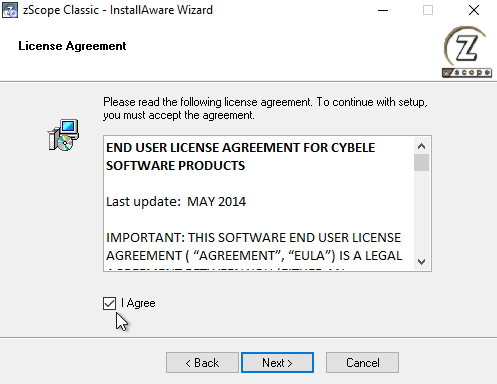
Now we just have to click next, and followed by it, you can read our terms and conditions and agree in order to follow the process:
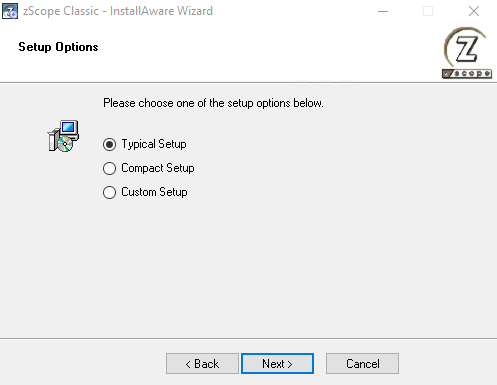
Now we have to choose between different installation methods. If you are a regular user, we recommend the typical setup, that contains everything you will possibly need.
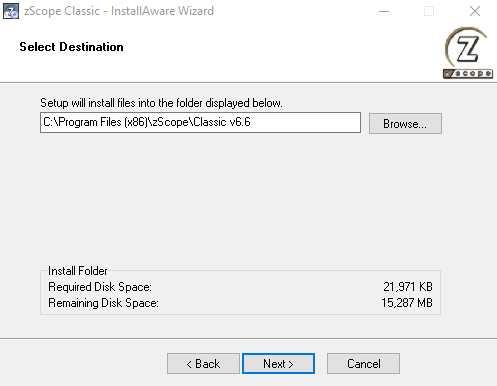
If we hit next, we will be able to choose the installation folder. We recommend leaving this on its defaults.
Now when we click next, we will be able to install zScope for “all users” or for the ‘current user only’. The most common thing is to install zScope for all users, so we will proceed with that one.

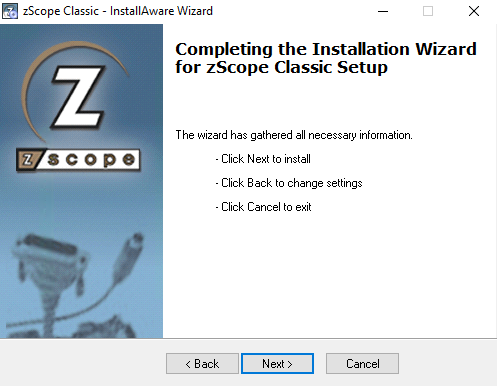
Now when clicking next, we can see that the wizard has gathered all the necessary information, so we can now hit next to finally install our product!
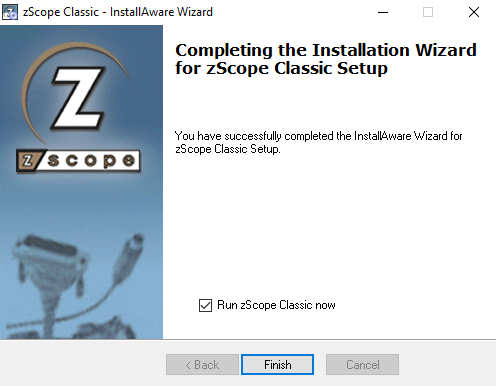
Now a very brief installation process should begin and finally, you will see the following dialog allowing you to run zScope for the first time.
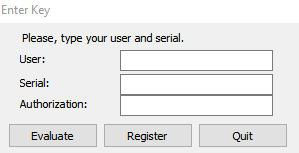
Once we hit finish, you will get a prompt with the following dialog that would allow you to register your zScope Classic 6.6 key.
Finally, if everything is okay, you should see the following dialog with the ‘Thanks for registering zScope’ message. Now, as you can see, we are able to use and create new connections with this new zScope Classic 6.6 version!

Thanks for trying our products!
z/Scope Terminal Emulator Software
There are different terminal emulation solutions for you in the z/Scope’s product family:
- 3270 client
- 5250 client
- SSH & VT client
- All-in-one software with Windows Client
- All-in-one Windows Server, with a browser client
Explore our host access solutions, enjoy our free 30-day trial, or request a quick demo with our specialists HERE. No commitment!
We will be happy to anwer your inquiries, and show you our Terminal Emulation software portfolio. Contact us today!
New to z/Scope? Need any help?
Schedule a conversation or give us a phone call:
Phone: (302) 892-9625 or (866) 462-9768 (USA & Canada)
Email: [email protected] (please include full product name and version)
Notes for current z/Scope Users
We find that many of our old customers are now adopting Windows 10 or Windows 11.
z/Scope v6.6 (desktop) and z/Scope Anywhere v8.5 (web) are fully compatible with Windows 10 and newer versions.
Do you run an older z/Scope version? Any z/Scope user covered by our Maintenance Service may update their current version at any time.
Aside from our technical support service, surely the best part of renewing your license’s maintenance is being eligible for the latest software updates and version upgrades at no extra cost.
Check out our download page or contact our technical support team to find out about the latest available version or to inquire about your renewal status.
You can also visit our Documentation page to find the available help files.