This is a quick tutorial to integrate and configure JumpCloud with SAML for your Thinfinity Remote Desktop Server deployment.
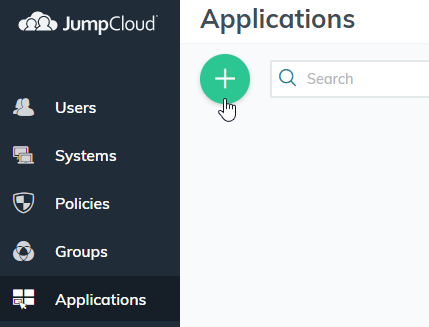
1) Navigate to the JumpCloud console -> “Applications” -> Click on the Plus icon:
2) Click on “Configure” over the SAML option:
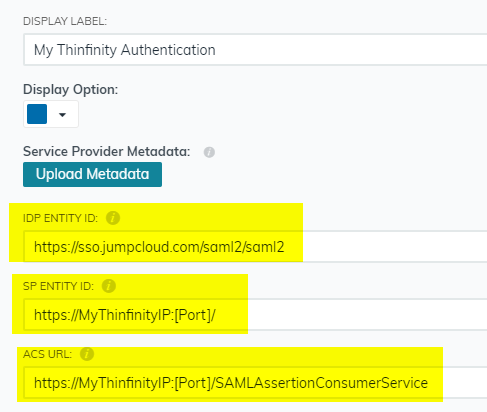
3) Configure the three following fields with the appropiate information:
-
- IDP Entity ID : https://sso.jumpcloud.com/saml2/saml2
-
- SP Entity ID : https://MyThinfinityIP:[Port]/
- ACS URL : https://MyThinfinityIP:[Port]/SAMLAssertionConsumerService
4) Click on “Activate” -> “Continue” -> “Save”.
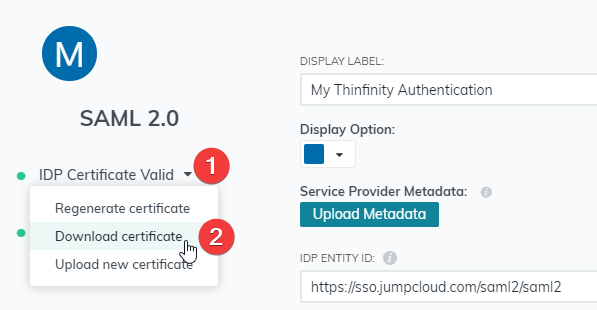
5) Reopen the application, and download the Certificate generated on JumpCloud’s end:
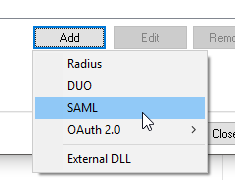
6) Open the Thinfinity Remote Desktop Server Manager. Then click on: “Authentication” tab -> Add -> SAML

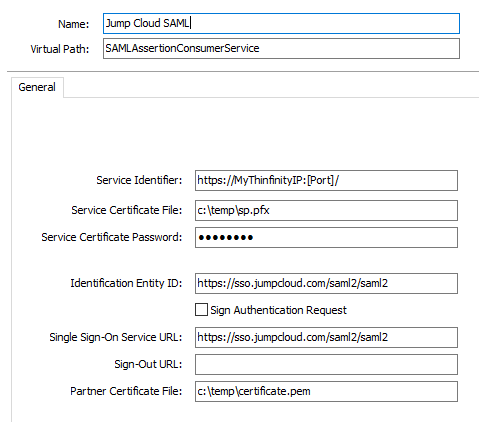
7) Configure the Authentication Method with the following information:
IMPORTANT INFORMATION:
“Service Certificate File” and “Service Certificate Password” : You need a valid certificate in order to sign the authentication.
“Partner Certificate File”: This is the certificate you downloaded from JumpCloud in step 5.
After everything is configured, click “Ok”.
8) Click on the “Mappings” tab, and press the first “Add”:
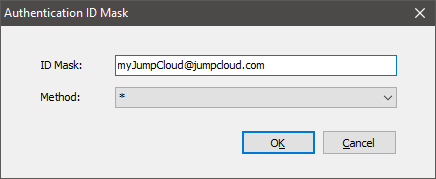
The Authentication ID Mask must match the user sent from JumpCloud, for example:
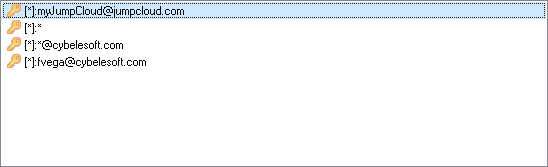
Click “Ok”. You should see now that the user in the “Authentication ID Mask” list. Below you’ll find different examples of how you can integrate it:
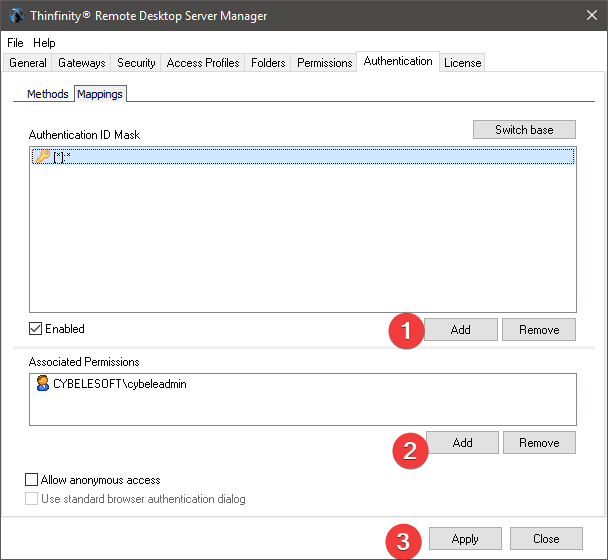
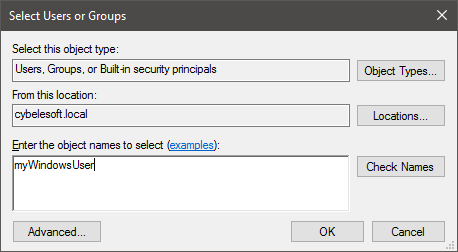
8) Click on the user you added, and press on the second “Add”. The “Select Users or Group” window will be displayed.
In here, you will map the “External” user ( the JumpCloud credentials ) to an “Internal” user ( Windows user ) , so that Thinfinity can specify which Access Profile will be displayed to each “external” user. ( “Permissions” tab in the Access Profile Editor ):
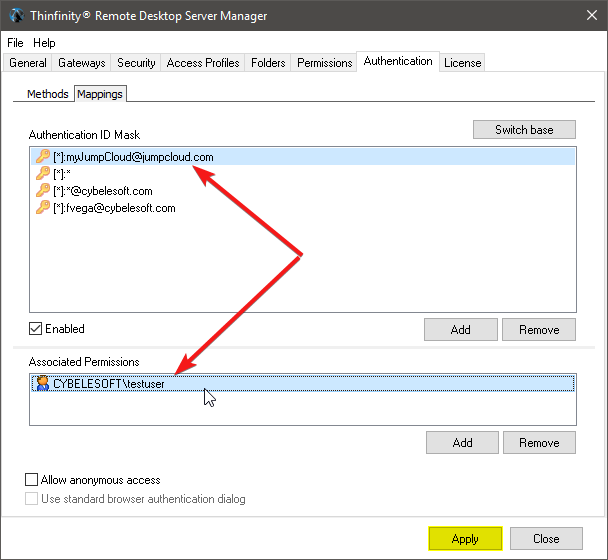
9) After you click “Ok” , you should see something like this:
Click “Apply”.
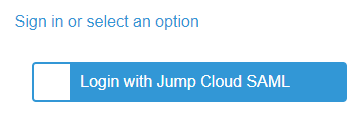
10) Navigate to the Thinfinity URL, and you should see the new authentication method:

If JumpCloud SAML is the only authentication method, then Thinfinity will redirect you directly to the JumpCloud login page:
Have any questions? Want to know more about access profiles for cloud computing? Contact us at [email protected] or leave a message on this same post.