When it comes to video editing software, Adobe Premiere Pro is a top choice for professionals, teachers, and students. Still, not all devices have the necessary hardware requirements to run it. Learn how you can solve this by publishing it as a RemoteApp with Thinfinity® Remote Workspace.
Adobe Premiere Pro is one of the most renowned video editing platforms in the world. However, not all PCs can meet their high-performance requirements. In addition, educational institutions may not have the budget to get the number of licenses or devices they would need to offer this software to their students.
This challenge -as complex as it seems- can be solved by publishing a RemoteApp with Thinfinity® Workspace, our all-in-one solution for application and desktop delivery. With Thinfinity® Workspace, you can publish Premiere Pro to the web in just a few minutes.
What is a RemoteApp?
RemoteApp is a feature of Microsoft’s Remote Desktop Services that allows individual programs to run remotely using a Remote Desktop Client. Instead of accessing the entire remote desktop, RemoteApp allows users to see and interact with just the application as if they were running on the end-user’s device.
You don’t need to have any programming skills or make any modifications to the Windows application source code to accomplish it.
How to publish a RemoteApp with Thinfinity Remote Workspace?
Thinfinity Remote Workspace is the first integrated solution to access applications, desktops, and data, from a unified portal. With Thinfinity Remote Workspace, you can enable remote access to ALL your apps, desktops, and files on any device.
Installing it for the first time is pretty simple. There are just a few items you have to take into account. You can check the Thinfinity® Workspace’s installation steps here.
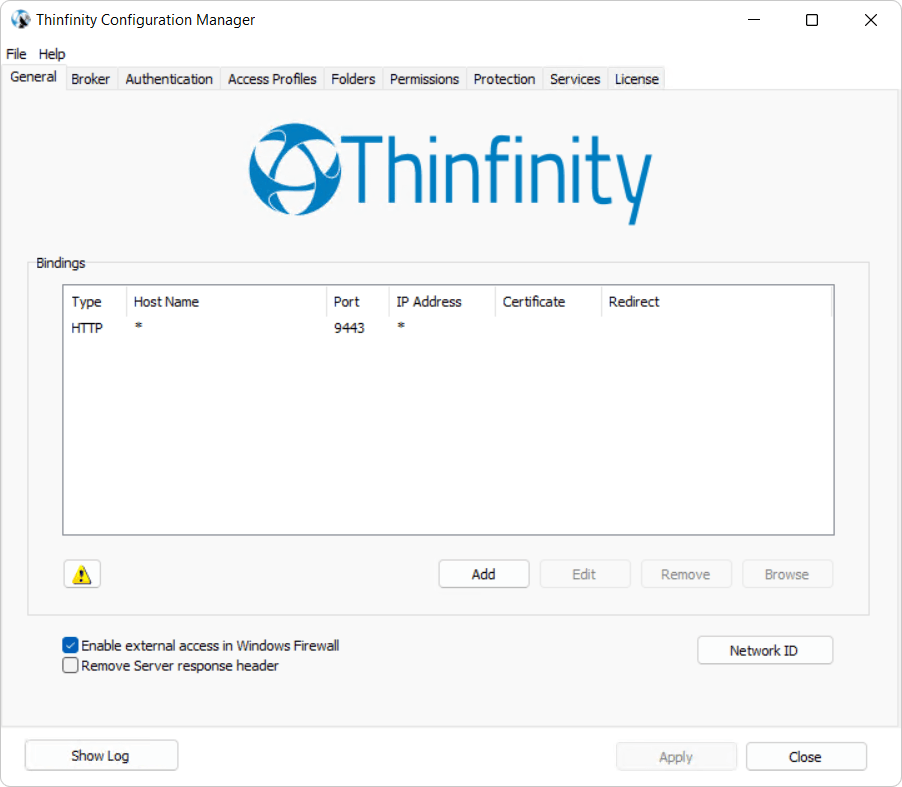
Once you complete the installation process, open the Thinfinity® Configuration Manager:
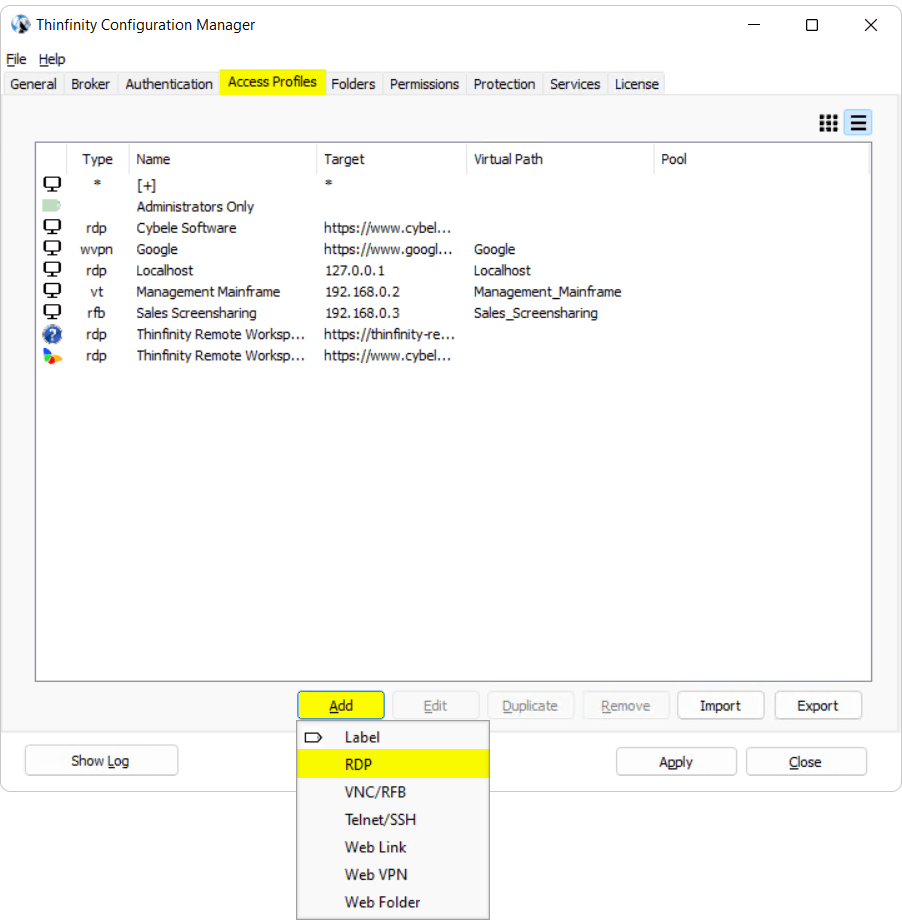
Click on the ‘Access Profiles’ tab, and press ‘Add’. For this guide, we’ll be creating an ‘RDP’ connection:
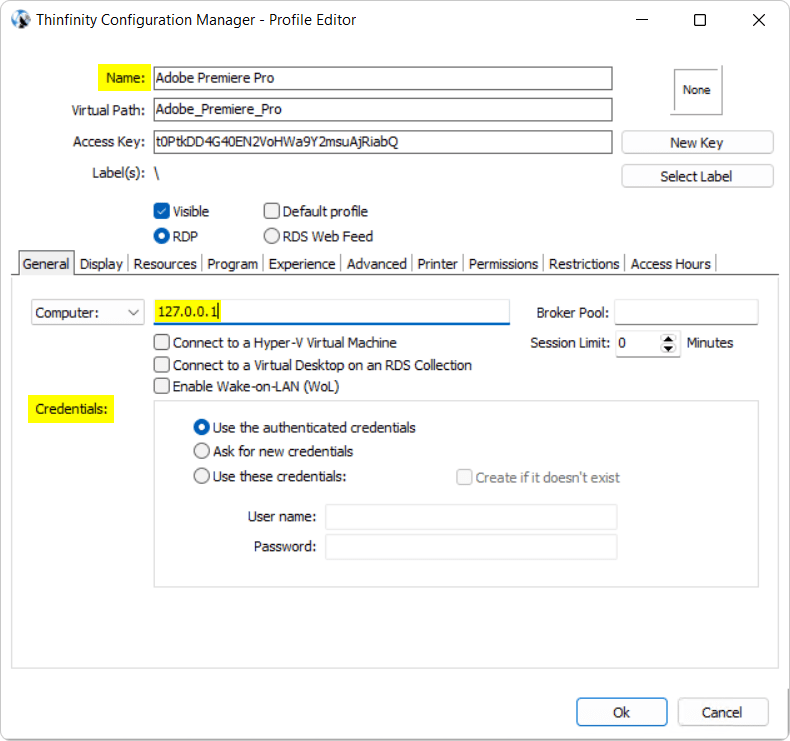
Configure the Access Profile with a ‘Name’, then on ‘Computer’ enter the IP Address or domain name of the server, and on ‘Credentials’ enter the Windows credentials to authenticate to said server:
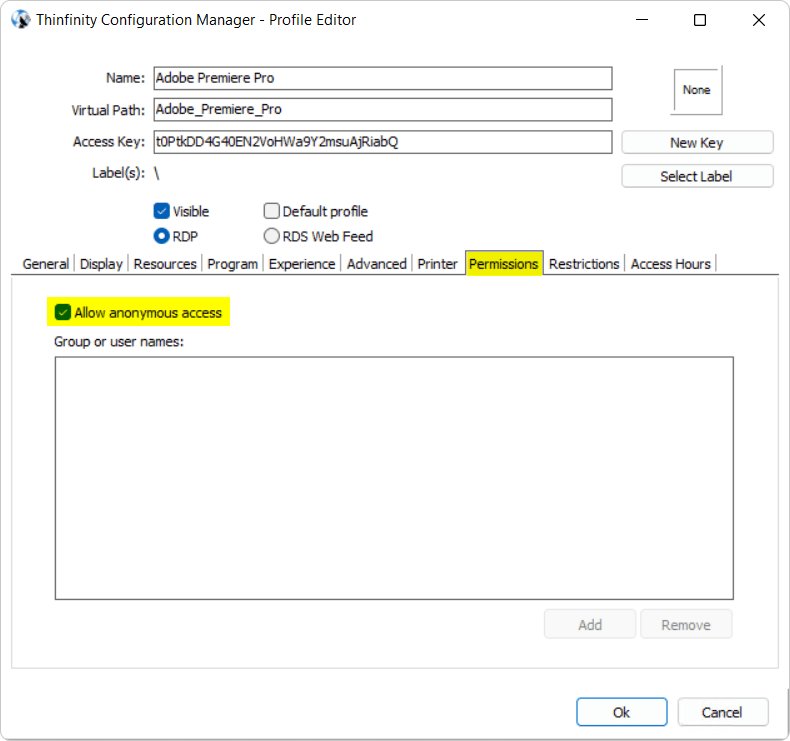
For testing purposes, check the ‘Allow anonymous access’ option:
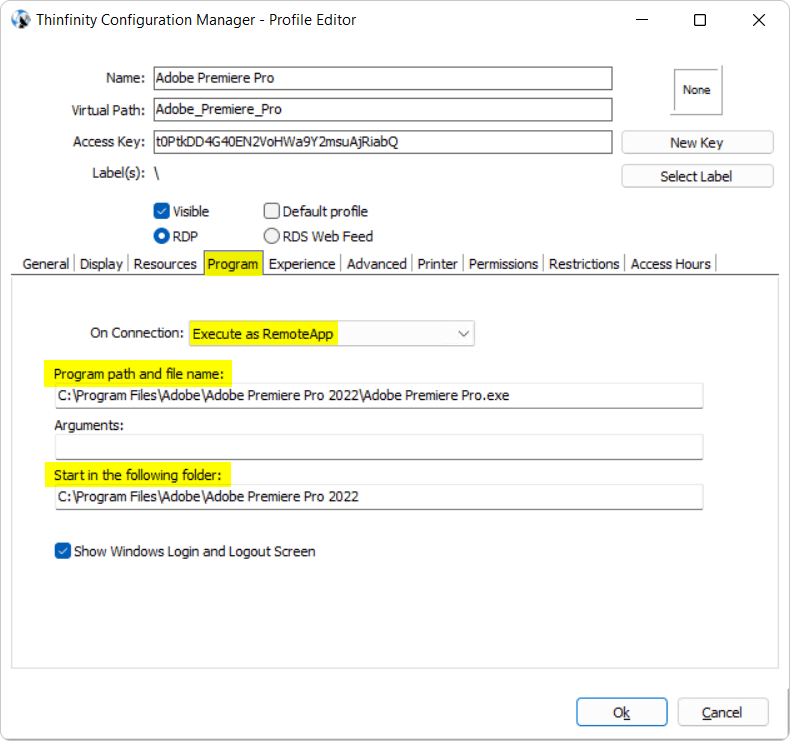
Under the ‘Program’ tab, choose the ‘Execute as RemoteApp’ option.
Then, point both the ‘Program path and the filename’ and ‘Start in the following folder’ fields to the executable’s directory and its root folder, respectively.
You can also pass arguments to your application in the “Arguments” field:
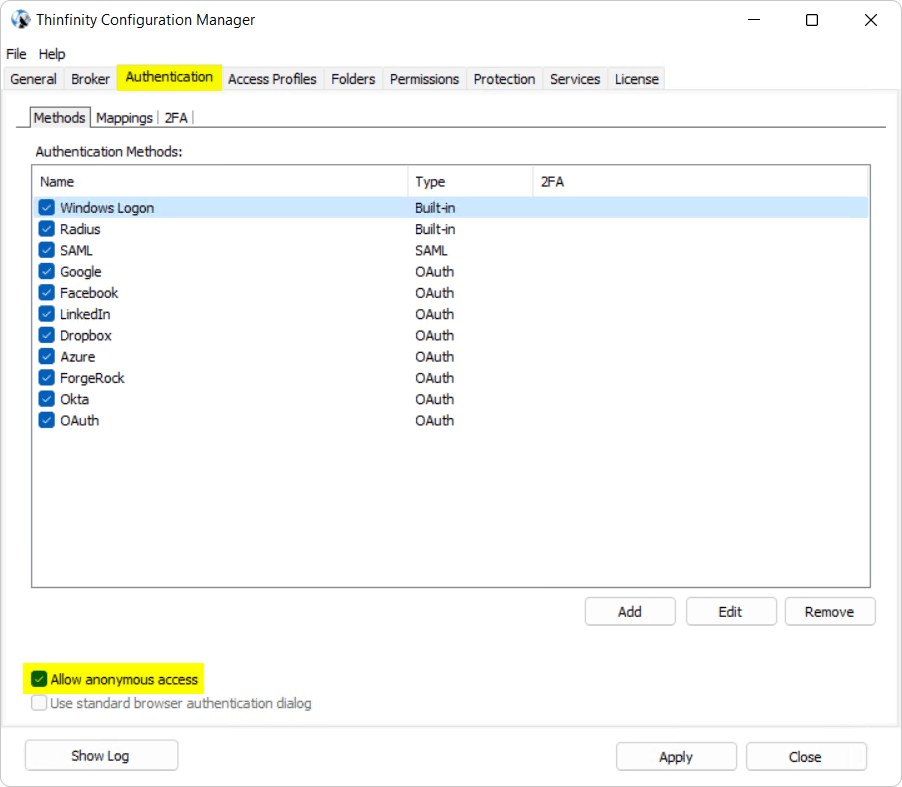
For testing purposes, mark the check-box for ‘Allow anonymous access’ under the ‘Authentication’ tab:
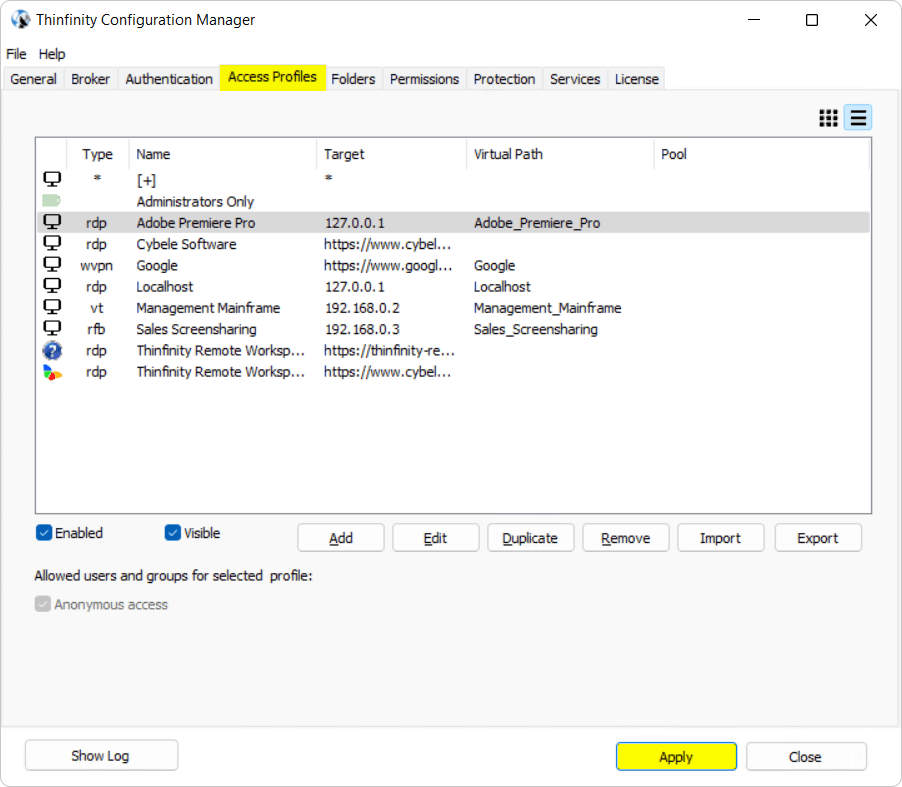
Press ‘Apply’:
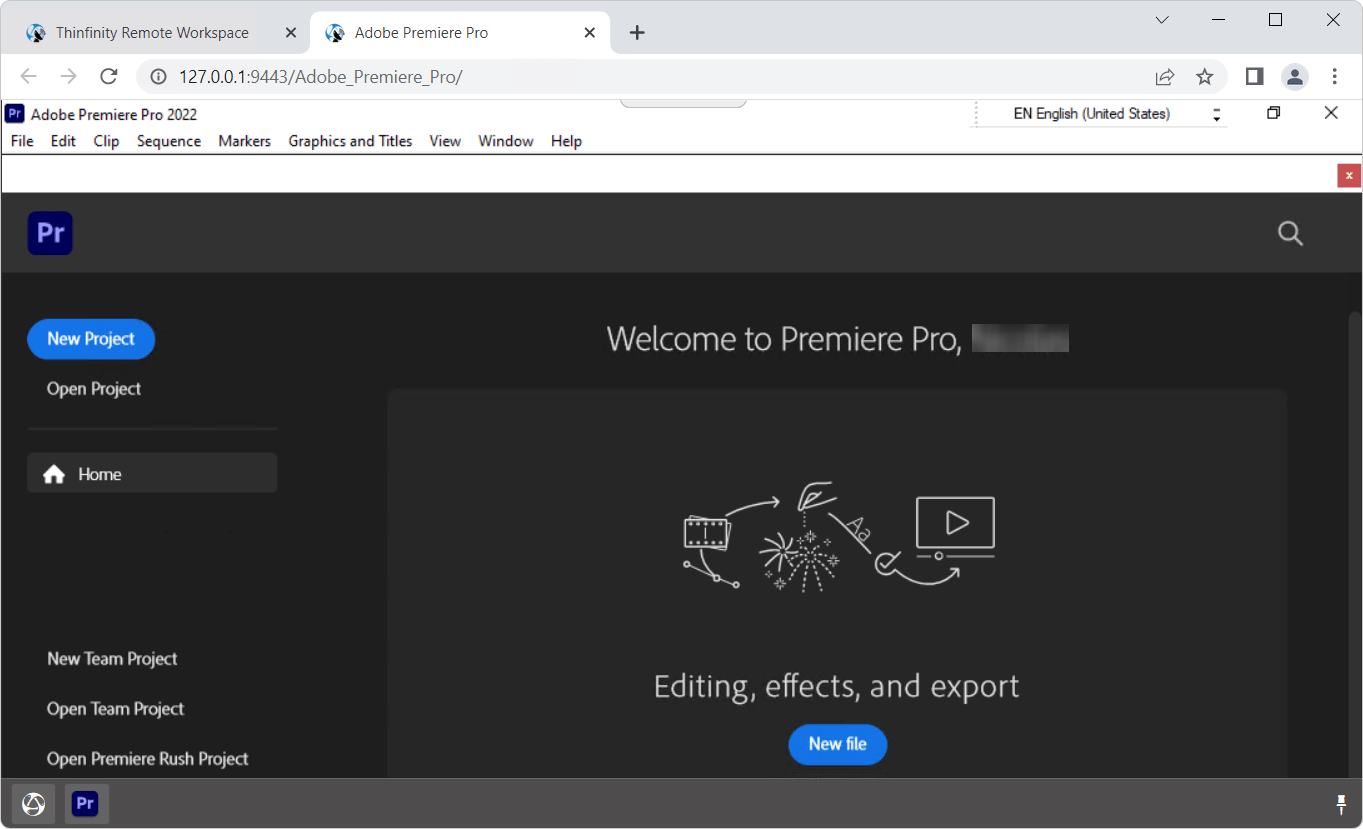
You can open the published application by going to http://127.0.0.1:Port and clicking on the newly created Profile:
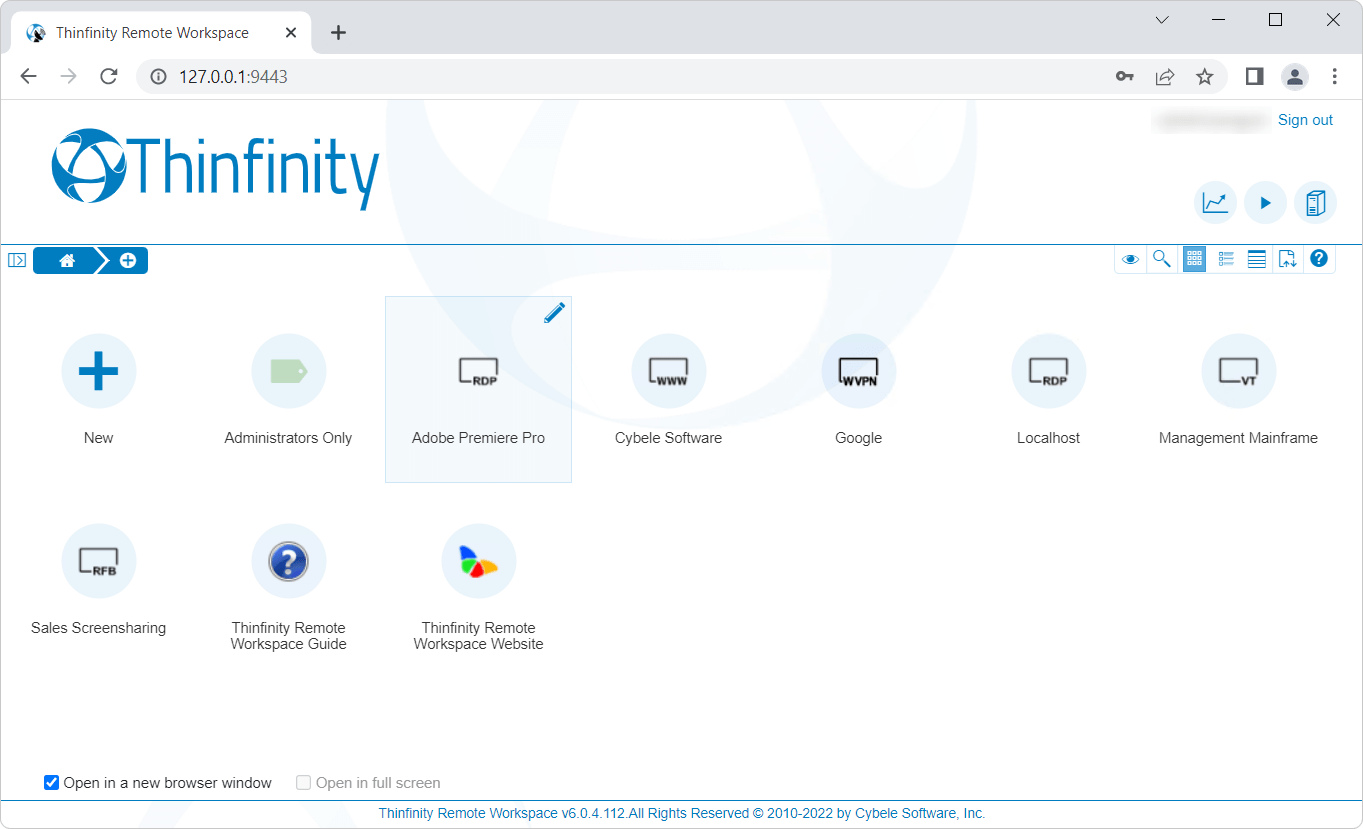
You can now use Adobe Premiere Pro on a browser via the RemoteApp functionality for Thinfinity Remote Workspace!
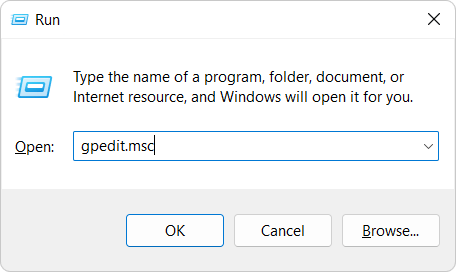
If you get an access denied error, you would need to enable a group policy to allow unlisted programs to be started. To this end, open the ‘Group Policy Editor’ by going to ‘Start > Run > gpedit.msc’:
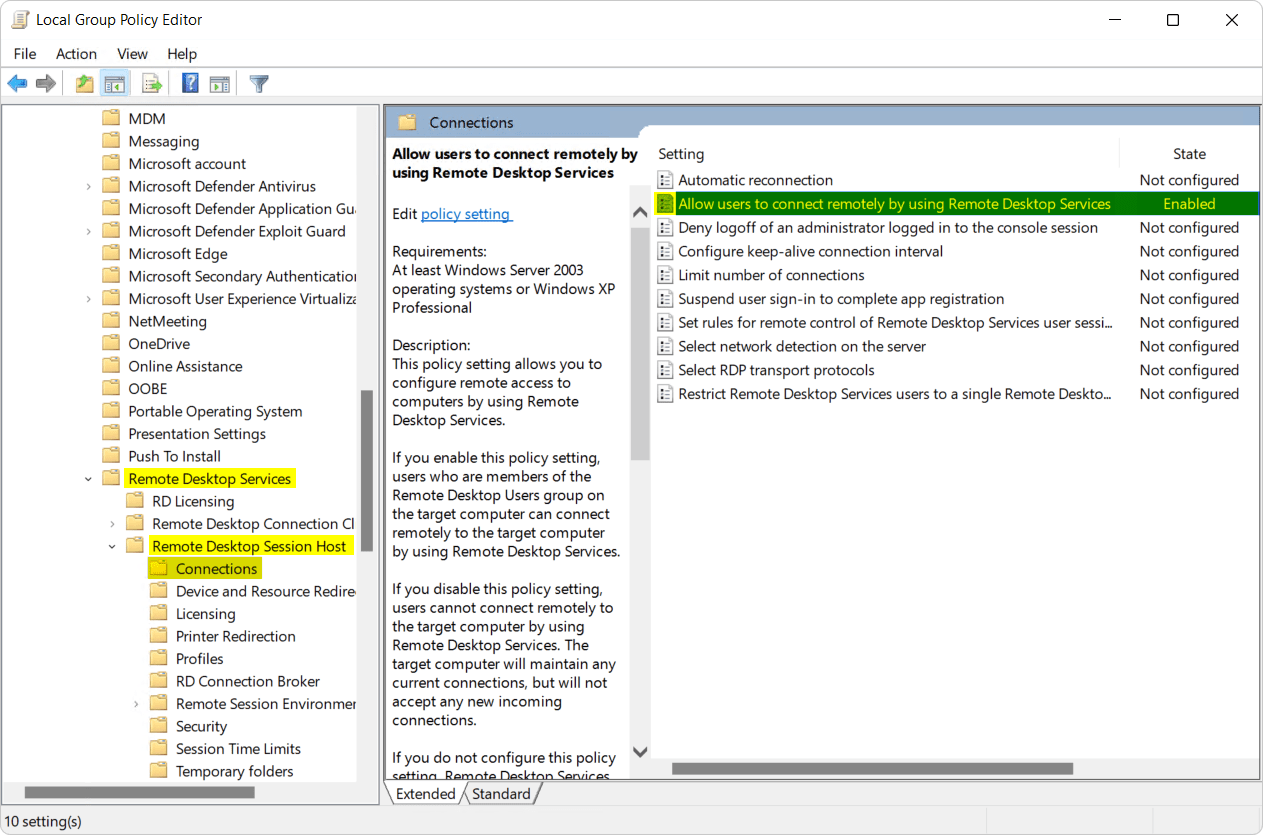
On the ‘Group Policy Editor’ navigate to:
‘Computer Configuration > Administrative Templates > Windows Components > Remote Desktop Services > Remote Desktop Session Host > Connections > Allow users to connect remotely by using Remote Desktop Services’
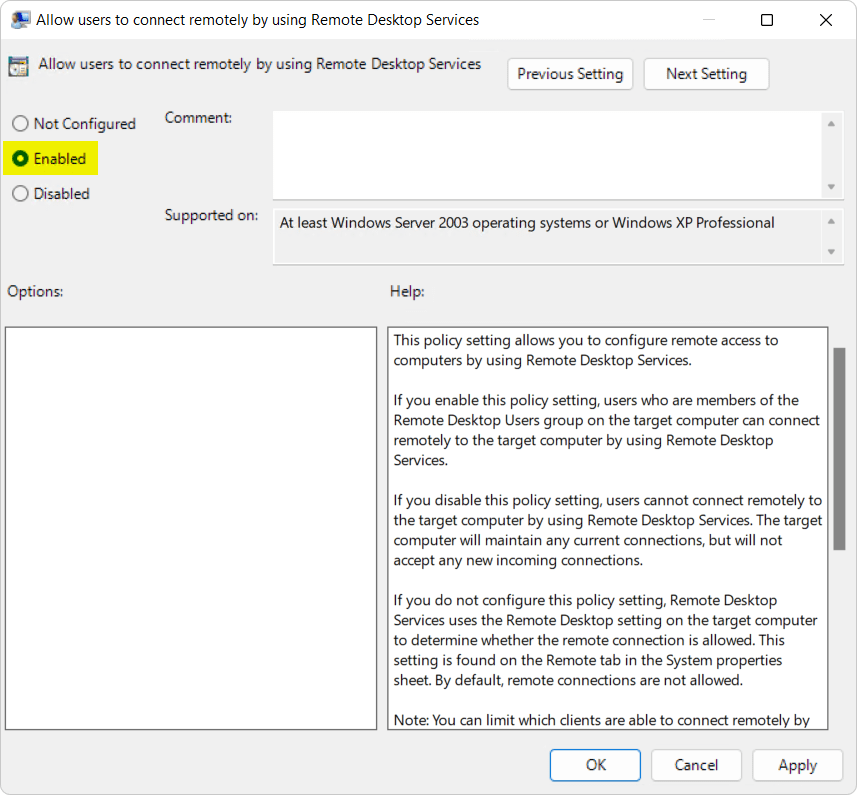
Double click on this policy and then click on the check-box next to ‘Enabled’:
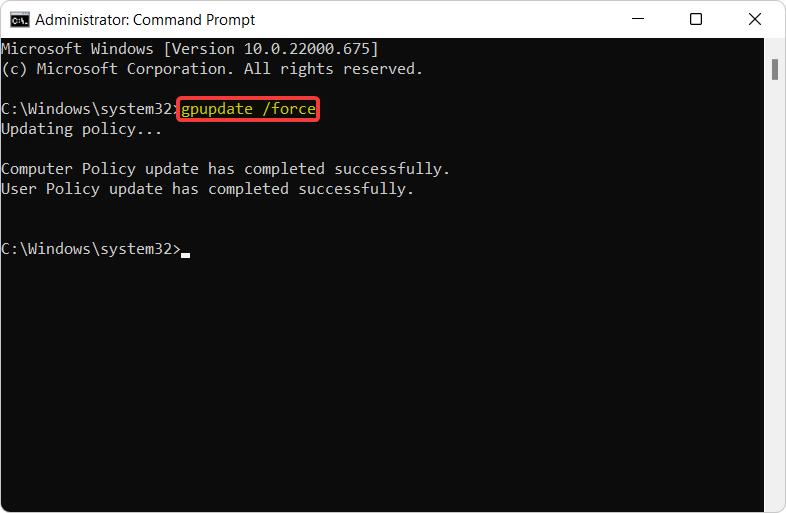
Afterwards, you’ll have to update the group policies. In order to do this, call ‘gpupdate /force’ from a ‘Command Prompt’ window elevated as an Administrator:
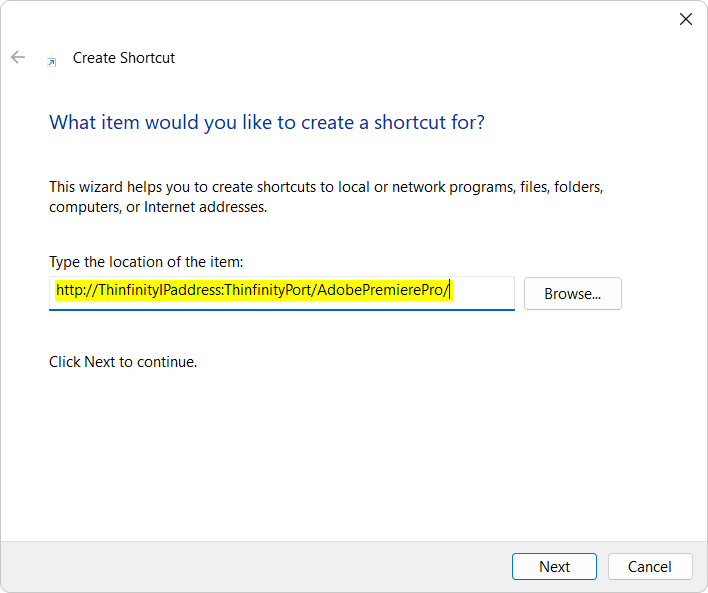
If you want to give your users quick access to Adobe Premiere Pro, you can create a desktop shortcut to the URL of Remote Workspace with the Virtual Path of the application. Here’s an example:
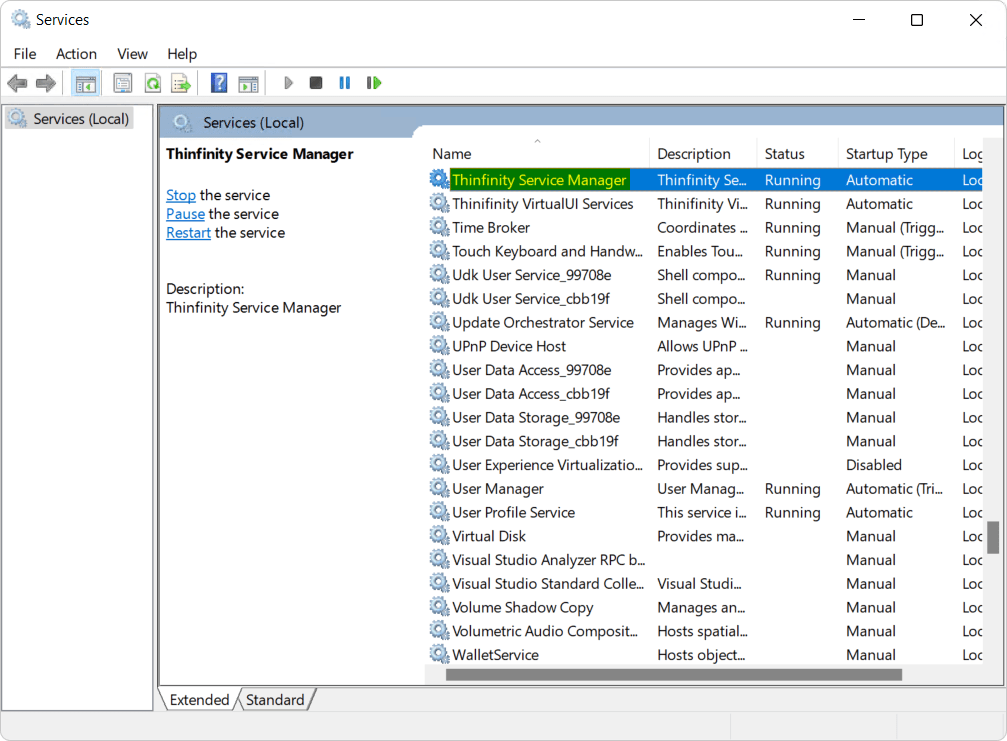
To ensure these changes are applied, you can go to ‘Start > Run > services.msc’ and restart the ‘Thinfinity Service Manager’:
Enabling high-quality performance
H264 is the most commonly used format for recording, compression, and distribution of high-quality video content in an efficient manner. As such, Thinfinity® Workspace must work in conjunction with H264 in order to provide a professional experience.To activate H264 for Thinfinity, check this step-by-step article.
If you found this article interesting and want to know more about Thinfinity® Workspace you can write to us or schedule a 15-minute demo call with one of our Sales Engineers.