Thinfinity VirtualUI is a solution to convert your Windows applications, no matter how complex they are, to the web. Win32 software can be transformed into HTML5 to be run within any browser. VirtualUI requires you have access to the source code, but it is not your case, Remote Workspace can grant the same solution for any third-party app.
Gateway & Broker: on Large Scale Environments
Important: This article is closely linked with another 4 articles. You should check this post to see the full picture.
The first step to deploy our apps virtualized with VirtualUI is to install the Gateway on any server that will act as “Gateway Server”, and the Broker on any server that will act as, yeap, you guessed!: “Broker Server”.
How to install the Gateway Server:
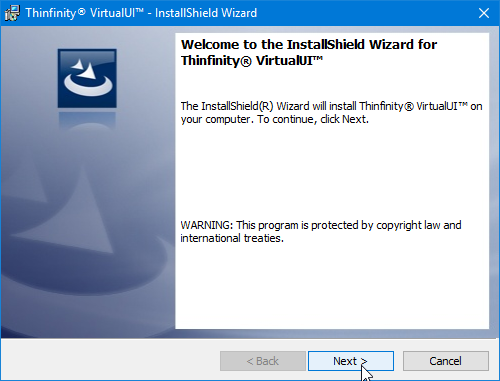
Open the regular Thinfinity VirtualUI installer (you can download the latest version here). Click on Next:
Select “I accept the terms in the license agreement” and click Next.

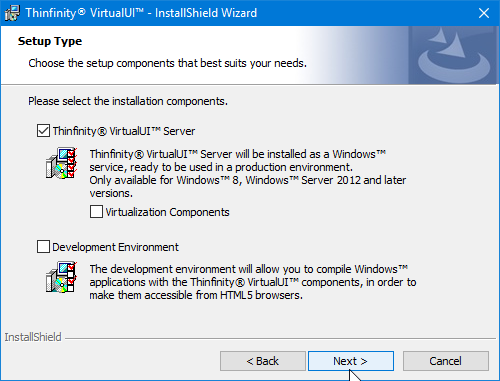
Check “Thinfinity VirtualUI Server” and click “Next”:
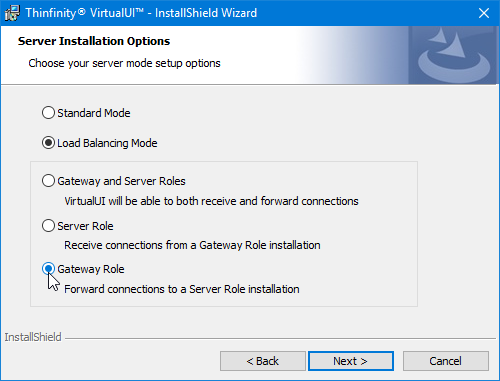
Select “Load Balancing mode” and “Gateway Role” and click on Next.
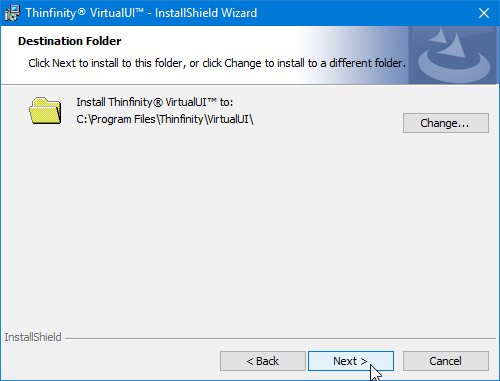
Choose a destination folder and click on Next.
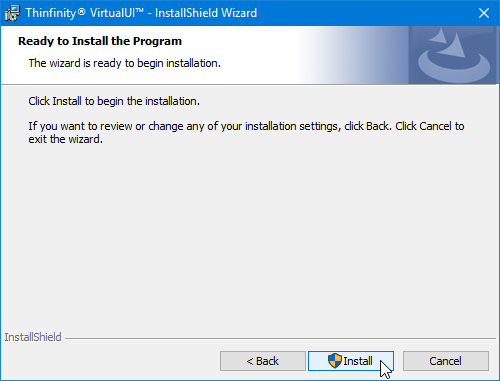
Now that everything is configured, click on Install.
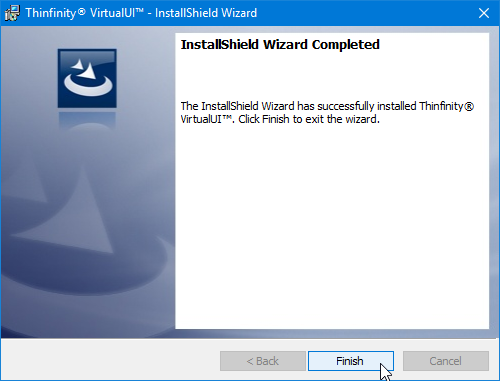
Once the installation has been completed, click on “Finish”.
How to install the Broker Server:
Open the regular Thinfinity VirtualUI installer (you can download the latest version here). Click on Next:

Select “I accept the terms in the license agreement” and click Next.
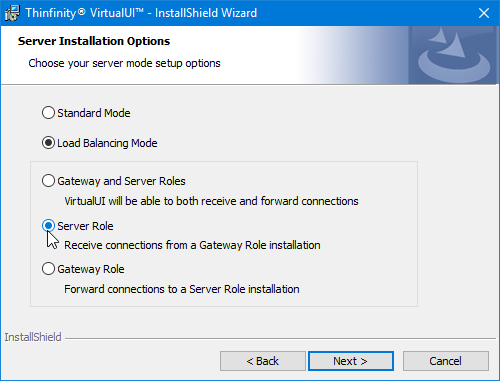
Select “Server Role” and press Next.

Choose a destination folder and click on Next.

Now that everything is configured, click on Install.

Once the installation has been completed, click on “Finish”.

Your next step would be: Load Balancing Configuration for Thinfinity VirtualUI
IMPORTANT: This article is closely liked by other articles:
- Deploy Thinfinity VirtualUI on a Large Scale Environment
- Install Gateway & Broker<- You are here!
- Load Balancing Configuration for Thinfinity VirtualUI
- Pool your VMs and add Windows instances on-demand
- Register your Serial License on the Broker Servers
Have any questions? Contact us at [email protected] or leave a message on this same post.

Thinfinity VirtualUI
As you already know, Thinfinity VirtualUI is a web-enabling SDK to run apps on a browser without rewriting the code.
If you’re a GitHub user, you may want to check our VirtualUI GitHub project.
Remote Access Solutions
Want to learn more about our remote access applications?
We will be happy to assist you and show you our portfolio for remote desktop, screen sharing, and digital workspace.
Explore our other web RDP and online workspace solutions, enjoy our free trials, or request a custom demo HERE. No commitment!