You can rename and delete a macro from the through the the Connection view Menu.
Renaming a Macro
|
1. Open the Settings Click the Settings button and a menu will be presented. |
|
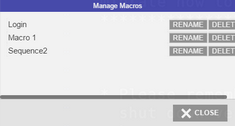
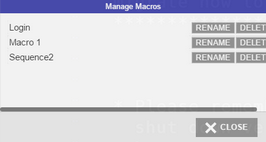
2. Manage Click on the 'Manage' button to open the Macro Management Screen. The screen below will be presented to you:
a. Change the Macro's name. b. Click on the 'Rename' button. c. Press 'OK' on the message. d. Click on the 'Close' button. |
Deleting a Macro
|
1. Open the Settings Click the Settings button and a menu will be presented. |
|
2. Manage Click on the 'Manage' button to open the Macro Management Screen. The screen below will be presented to you:
a. Click on the 'Delete' button. c. Press 'Yes' on the message. d. Click on the 'Close' button. |
To learn how to use and create macros, read the next topics:
Editing a Macro
On most of the cases you can create, manage and use macros directly following the instructions above. On ocassion, however, you might want to edit the macro's code. Learn all about the advanced configuration in the following topic:

