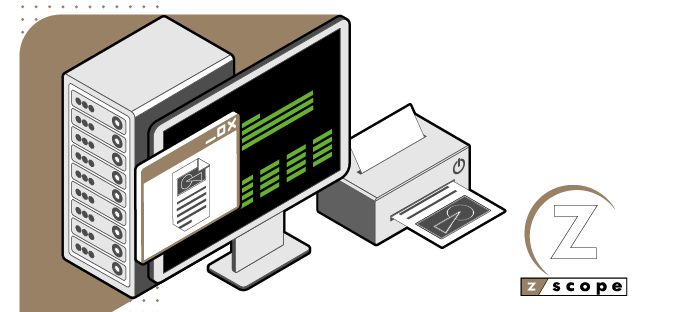
With zScope Classic, you are able to print directly from your Terminal without going through our Printer Preview. With this feature, you can also add multiple printers, and that’s what we are going to cover in this tutorial.
1- First of all we’ll need to open zScope Classic and click on File > Connection Wizard.

2- You’ll be displayed with the following screen, where you just need to hit “Next”.

3- There you will be asked to select the Host type. In this example, we are connecting to a green screen IBM AS/400 Terminal.

4- Here we’ll need to follow two steps:
- Disable the Display Type option
- Enable the Printer checkbox and enter the name or the IP Address of the Network Printer.

5- Once you get to the Host Address dialog box, specify the Printer’s name to be displayed under zScope.

6- Then hit next, disable the ‘Connect to host’ option and click on “Finish”.

7- At this point, you should be able to see your created printers on our zScope Printer queue.

If you have any questions, please email us at [email protected].
Regards!