Follow these steps to create a VNC connection using Thinfinity Remote Workspace:
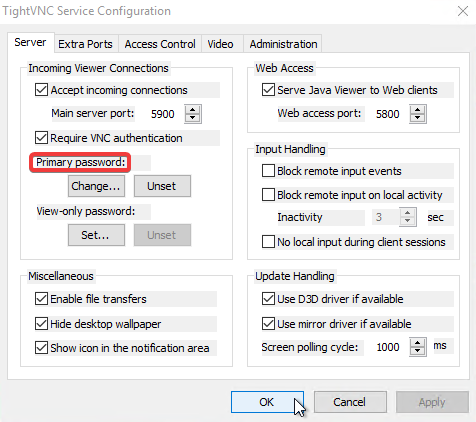
- Once your VNC server (in this case TightVNC) is installed, on the intended destination to which to connect via Thinfinity. You can leave all the settings as default.
On the TightVNC Main manager, you can add for example a password for your new connection:
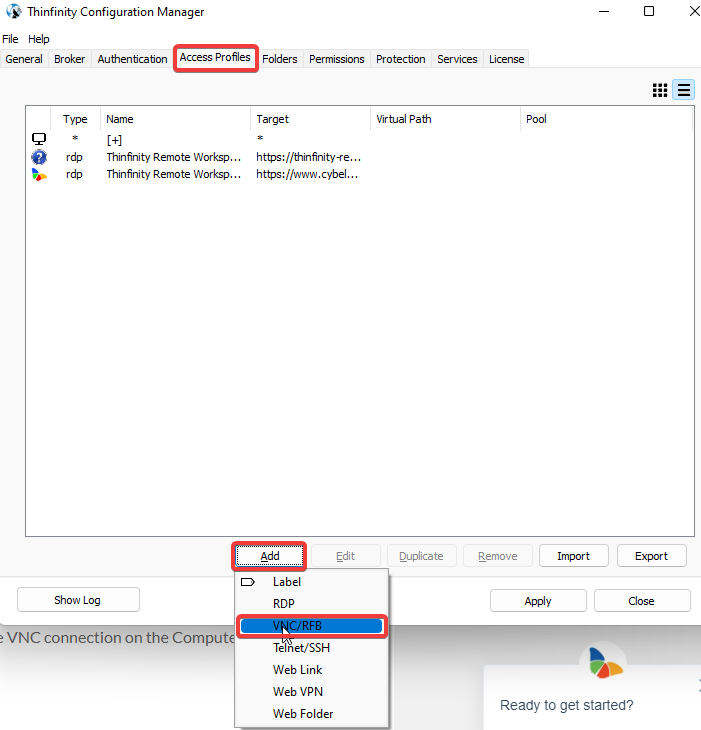
2. Now you can go to your server and Enter the Thinfinity Remote Workspace Server Manager. Go to the Access Profiles tab, then click on Add and select VNC/RFB like so:
- On the Profile Editor you can choose a name for the connection and then you’ll need to input the IP address of the VNC connection on the Computer field and the Password if it has one:
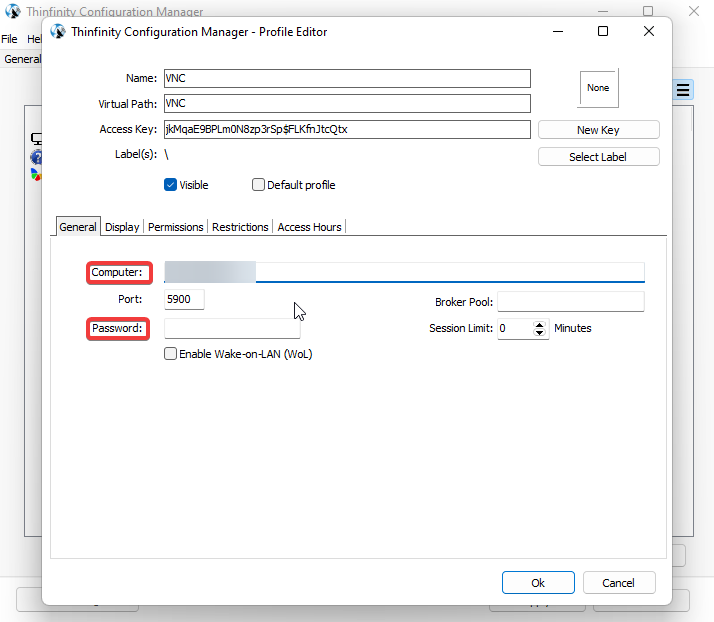
- Click on Ok then Apply and finally Close
- Restart the Thinfinity Remote Workspace services by going to Start > Run > services.msc
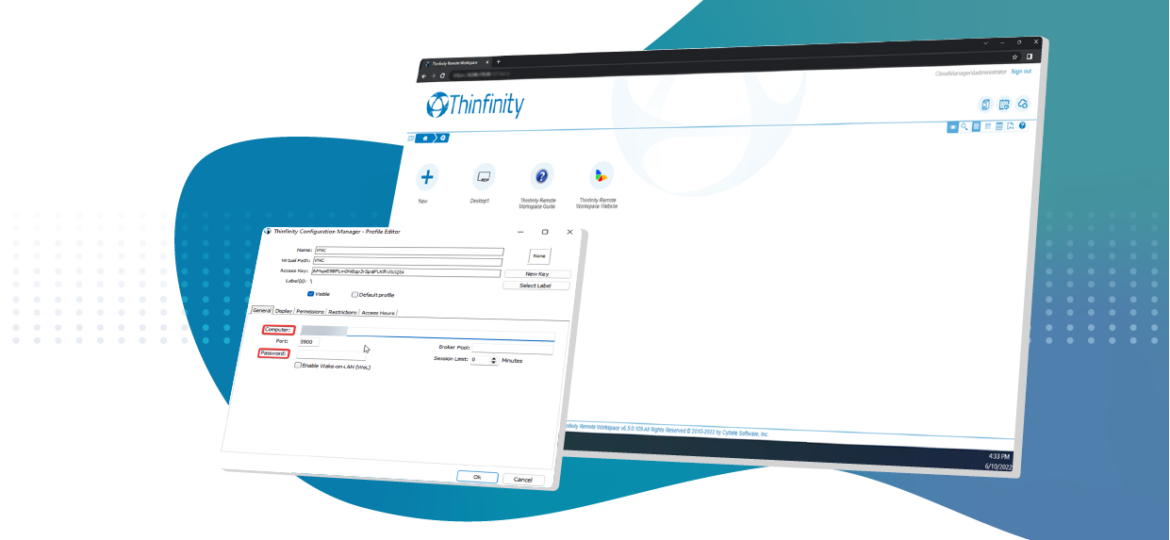
- Go to the Remote Workspace Server landing page and open the VNC connection that you’ve just created.
And that’s it, you are now able to connect to a VNC connection using Remote Workspace Server.
Have any questions?
Book a call today to learn more about how Thinfinity can help your organization. We are always available to guide you and provide the best solution based on your specific needs.