
Installing Components
Load Balancing is no longer available in Thinfinity VirtualUI. This capability is now provided exclusively by Thinfinity Workspace — see Load Balancing and Failover in the Thinfinity Workspace manual for details.
In this section you’ll learn how to set up Thinfinity VirtualUI’s components in a load-balancing network configuration.
Choose the Load Balancing mode in the Server Installation Options screen:
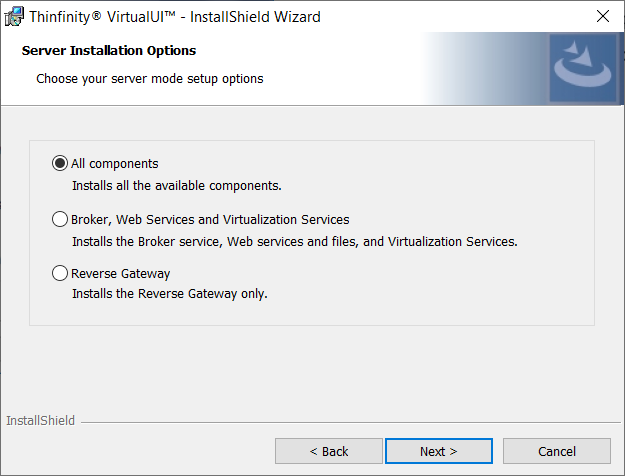
Two or more servers will participate in the load balancing/fault-tolerance scenario. These are the two possible roles for an installation:
Reverse Gateway Role: Under this role, VirtualUI responds to all web-page requests and, when a connection is solicited, it selects the appropriate Broker to forward that request to.
In case any established connection fails, or a Broker falls down, the Gateway will be able to reconnect to the Broker that has the highest availability at the moment.
All the system settings and profiles are centralized and shared between the Servers.
Broker, Web Services and Virtualization Services Role: Under this role, VirtualUI only processes forwarded connections. The Broker is responsible for establishing and processing the connections assigned by the Gateway. A Broker Role installation also includes the option to enable multiple RDS accounts.
Before Configuring a Distributed Environment
Choose out of the possible Scaling and Load Balancing Configurations the one that best fits your needs.
Plan which machines will work under the Broker Role, and which under the Gateway Role and DNS Servers.
Make sure all the Gateway Roles IP addresses are public to the web browsers that will access Thinfinity VirtualUI.