
Installing Thinfinity VirtualUI
Download the installer from the download page in the Cybele Software site.
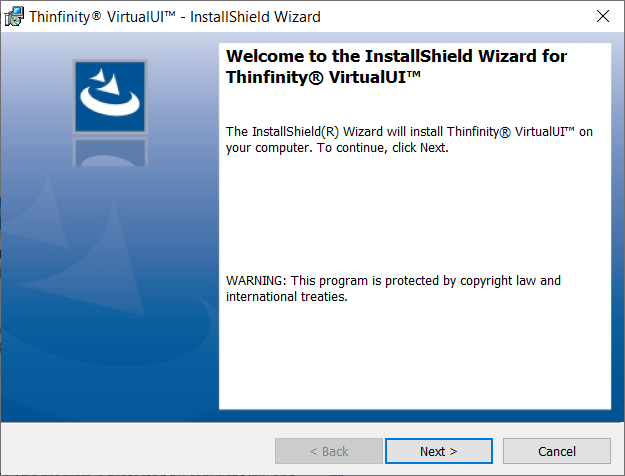
Execute the installer on the target machine.
Select the environments to be installed:
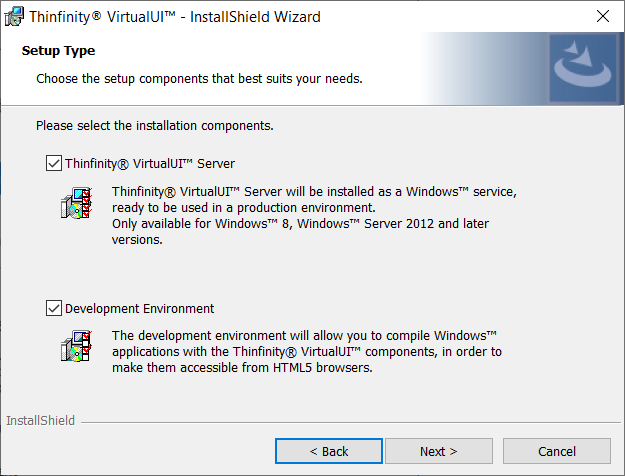
Thinfinity VirtualUI Server is an HTTPS/WebSocket Server that maintains the communication between your app and the web browser. Installing this environment will enable you to configure and run your adapted Windows apps. This isn’t needed for development purposes but its installation is recommended for testing purposes. From version 3.6, the Server environment installs the same way as Thinfinity Workspace: the setup registers a single Thinfinity VirtualUI Service Manager Windows service that supervises and runs the server components you install.
Development Environment is meant to be installed on the developer machine. This mode installs the Thinfinity VirtualUI SDK files that you’ll need to include or reference in your application’s project. It also includes one Thinfinity VirtualUI Server that will execute in development mode, to quickly test your application from a web browser.
If you are installing the Server environment, select which components to install:
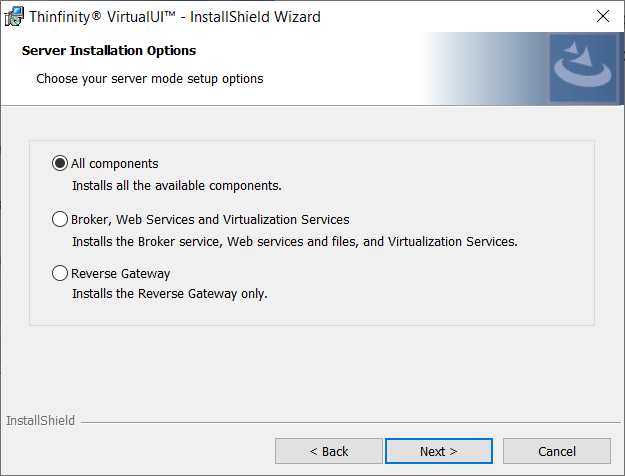
- All Components (default): Choose this for a stand-alone installation — this machine centralizes all the connections and runs every component.
- Broker, Web Services and Virtualization Services: Choose this option to install the Broker components if you wish to distribute the connection’s load between several installations. Read more about Scaling and Load Balancing.
- Reverse Gateway: Choose this option to install the Gateway component if you wish to distribute the connection’s load between several installations. Read more about Scaling and Load Balancing.
The components you install determine which installation roles are available afterwards (see Selecting the Installation Role below).
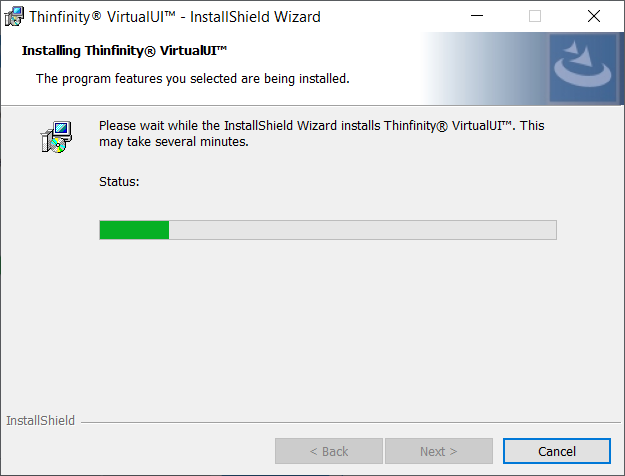
Select Next and wait for the installation process to finish. When it’s done, select Finish.
Selecting the Installation Role
In a distributed environment, each machine takes a role that defines which components run on it. The first time you open the Server Manager after installing the Server environment, it asks for the role of this installation. You can change it later from the Services tab.
The roles offered depend on the components installed on the machine:
| Role | Description |
|---|---|
| All-in-one | A stand-alone installation. This server centralizes all the connections and runs every component. Choose this role unless you are building a distributed environment. |
| Gateway | The public entry point of a distributed environment. It responds to all web requests and forwards each connection to the appropriate broker. |
| Primary Broker | The main broker of a distributed environment. It establishes and processes the connections forwarded by the gateway, and holds the configuration shared with the secondary brokers. |
| Secondary Broker | An additional broker that joins a distributed environment to expand its capacity. It is managed from the primary broker. |
| VirtualUI Agent | A node that hosts and runs the virtualized applications in a distributed environment, registering with the broker. Use it to add application-hosting capacity separately from the gateway and broker. |
| AD Cache | A helper installation that caches Active Directory information for the environment. Available on domain-joined machines. |
The selected role defines which tabs the Server Manager shows. For example, a Secondary Broker installation only exposes the General and Services tabs, since the rest of the configuration is managed from the primary broker.
Read more about distributed installations in Scaling and Load Balancing.