
Uploading
An upload from your local device to the host should be done in two steps, as shown in the image below:
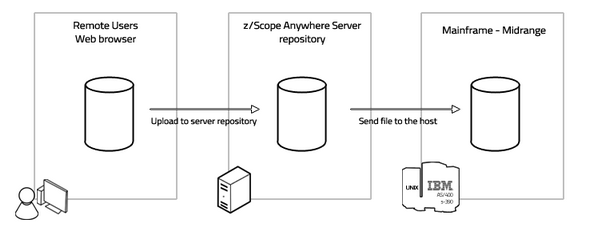
Upload the File to z/Scope Anywhere Server
-
Open an existing connection in the Start Page.
-
Select the File Transfer context menu item.
| Action | Description | |
|---|---|---|
 |
File Transfer | Select File Transfer in the connection menu and the File Transfer Manager will be presented |
-
Go to the Files tab and select Upload. Wait for the file to be completely uploaded into z/Scope Anywhere Server.
-
Observe that the file is now listed in the Remote Files list.
Send File to the Host
Once you’ve uploaded the file to z/Scope Anywhere Server you can send it to the host.
-
Go to the Queue tab and select Add to create a new job. Set the direction to Send. Set up all the other parameters.
-
Select the created job and select Run. The progress dialog will be shown:
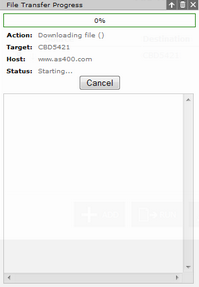
- Once the file transfer has finished, you’ll be redirected to the History tab, where this job’s status will be logged.